
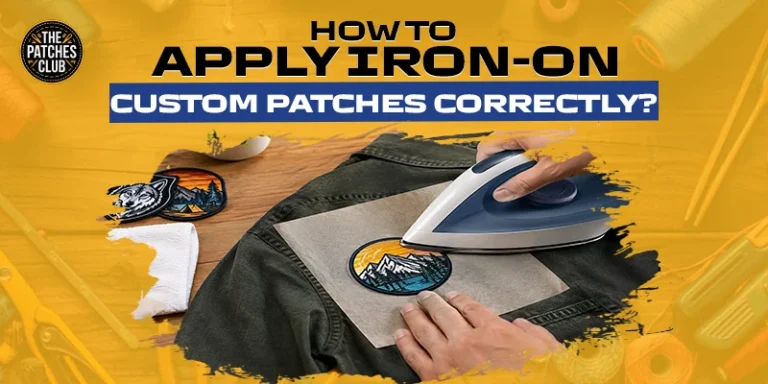
How to Apply Iron-On Custom Patches Correctly?
Want to give your jacket, uniform, or bag a quick new look? Iron-on custom patches make it easy. But one wrong heat setting or poor placement can ruin the finish. In this guide, you’ll learn how to apply iron-on patches correctly, avoid common mistakes, and keep your patches looking great for longer.
What Are Iron-On Custom Patches?
Iron-on custom patches have a heat-activated adhesive backing. When heat is applied, the adhesive becomes sticky and bonds with the fabric. These patches are popular for uniforms, workwear, school clothing, jackets, backpacks, and sportswear.
You can also create custom designs with names, logos, artwork, or badges. The main benefit is simple application. Instead of sewing the patch by hand, you can use a household iron to attach it to suitable fabric. If you want a classic stitched look with detailed designs, consider custom embroidered patches.
Design Your Custom Patches Right Now!
What You Need Before Applying the Patch
Before you start, gather a few basic items. You will need your iron-on patch, an iron, a flat and heat-safe surface, and a thin cotton cloth or pressing sheet. Make sure the clothing is clean and dry.
Dirt, dust, and moisture can affect the adhesive and may stop the patch from bonding well. It is also a good idea to check the care label on your garment. Some fabrics cannot handle high heat, so always check before applying the patch.
Choose the Right Fabric
Not every fabric is suitable for iron-on patches. Cotton, denim, canvas, and similar heat-resistant materials are usually good choices. Avoid applying iron-on patches directly to materials that can melt or become damaged by heat.
This includes many waterproof fabrics, leather, vinyl, and some synthetic materials. If you are unsure, test the iron temperature on a small hidden area first. This can help you avoid damaging your clothing.
Prepare the Garment
Start by washing and drying the garment if it needs cleaning. Do not apply the patch to damp fabric. Place the garment on a flat, hard surface. If you want a bold, textured look for jackets, sportswear, or clubs, consider custom chenille patches.
An ironing board can work, but a sturdy table with a heat-safe cloth can also be used. Smooth the area where you want to place the patch. Remove any wrinkles because they can make the patch sit unevenly.
Position Your Custom Patch
Decide exactly where you want the patch before applying heat. Take your time with this step because moving the patch after the adhesive has bonded can be difficult. Place the patch with the adhesive side against the fabric. The design should face upwards.
Check the position from different angles. If you are applying several patches, leave enough space between them for a neat finish. For jackets, place the garment flat and check how the patch looks when worn. This is especially useful for logos, names and other designs that need to be positioned correctly.
Cover the Patch
Once the patch is in the right position, place a thin cotton cloth or pressing sheet over it. This layer protects the patch and fabric from direct contact with the hot iron.
It can also help prevent the patch surface from becoming damaged. Do not use a thick towel because it may reduce the amount of heat reaching the adhesive.
Set the Correct Iron Temperature
Set your iron to a medium or high heat setting, depending on the patch and fabric instructions. Turn off the steam function. Water and steam can interfere with the adhesive.
It is always best to follow the application instructions provided by your patch manufacturer. Different patch materials and adhesives may require different heat levels. If you want a premium and durable finish for bags, jackets, or accessories, consider custom leather patches.
Press the Patch With Heat
Place the heated iron over the pressing cloth. Press down firmly for around 15–30 seconds, or follow the recommended time for your patch.
Do not move the iron back and forth like you normally would when ironing clothes. Keep steady pressure over the patch. Make sure you cover the whole patch. If it is large, work across different sections so every part receives enough heat.
Let the Patch Cool
After heating, remove the iron and leave the patch flat for a few minutes. Do not pull, stretch, or move the patch while it is still hot. The adhesive needs time to cool and bond with the fabric.
Once it has cooled, gently check the edges. If an edge is lifting, cover it again and apply heat for a few more seconds.
Check the Patch
After the patch has completely cooled, inspect the edges and centre. The patch should sit flat against the fabric without loose corners. If part of the patch has not bonded, repeat the heating process on that area.
Use firm pressure and make sure the iron reaches the required temperature. Do not keep applying heat for too long. Excessive heat can burn the fabric, damage the design, or leave marks.
How to Wash Clothing With Iron-On Patches
- Turn the garment inside out before washing whenever possible.
- Use a gentle wash cycle and avoid very high temperatures.
- Do not apply harsh cleaning products directly to the patch.
- Dry the garment according to its care instructions.
- Avoid placing a hot iron directly over the patch.
- If ironing is needed, use a pressing cloth to protect the patch.
Iron-On vs Sew-On Custom Patches
Iron-on patches are useful when you want quick and simple application. They are especially suitable for clothing that does not receive heavy wear. Sew-on patches are another option. They are attached with thread and can provide extra security for items that are washed often or used heavily.
Some customers choose both methods. The patch is first attached with heat and then secured with stitching around the edges. The right choice depends on the fabric, purpose and expected use of the garment.
Final Tips for Applying Iron-On Patches
Applying an iron-on patch is simple when you follow the right steps. Start with clean, dry fabric and choose a material that can safely handle heat. Position the patch carefully, cover it with a pressing cloth, and apply firm, even heat. Allow it to cool before checking the edges.
Most importantly, follow the manufacturer’s heat and time instructions. With the right preparation and a quality patch, you can create a neat finish that looks great and holds firmly.

FAQs
Frequently Asked Questions
Most patches need around 15–30 seconds of firm heat, but always follow the manufacturer's instructions.
No. Choose heat-resistant fabrics such as cotton, denim, or canvas, and check the garment care label first.
No. Steam is generally not recommended because moisture can affect the adhesive.
A thin cotton cloth or pressing sheet is recommended to protect both the patch and fabric from direct heat.
The patch may not have received enough heat or pressure. Dirty, damp or unsuitable fabric can also affect adhesion.
Yes, but allow the patch to cool and set properly first. Turn the garment inside out when washing.
Some can be removed with heat, but the process may leave adhesive residue or damage the fabric.
It is safer to place a pressing cloth between the iron and patch, especially when following manufacturer instructions.
They are quicker to apply, while sew-on patches can provide extra security for heavy-use garments.
The Patches Club can help with custom patch orders, including design requirements, quality production, and fast turnaround.
How to Remove Iron-On Patches: A Comprehensive Guide
Iron-on patches are a simple way to customise jackets, shirts, bags, uniforms, and other items. But what happens when you…
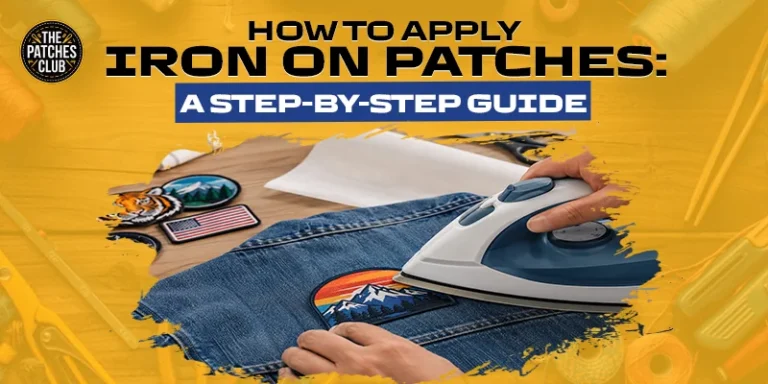
How to Apply Iron On Patches: A Step-by-Step Guide
Want to give an old jacket, bag, or pair of jeans a fresh look? Iron on patches are one of…

10 Best Custom Patch Companies in the UK 2026
Need custom patches in the UK but unsure which company to choose? The right patch maker can turn your logo,…