
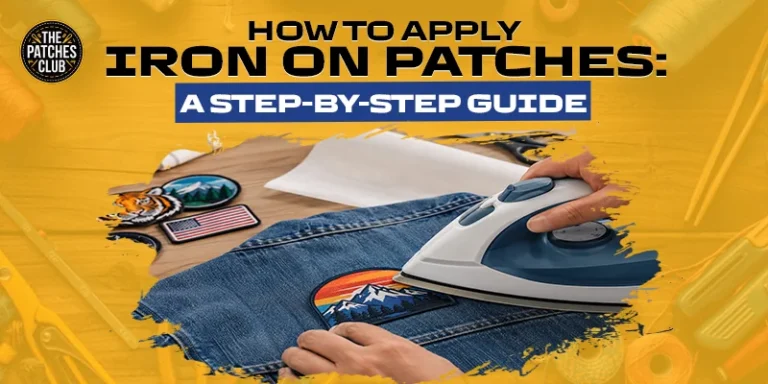
How to Apply Iron On Patches: A Step-by-Step Guide
Want to give an old jacket, bag, or pair of jeans a fresh look? Iron on patches are one of the easiest ways to do it. You do not need sewing skills or special tools. With an iron, a suitable patch, and a few simple steps, you can add a patch at home.
However, applying a patch the wrong way can cause loose edges, poor bonding, or damage to your fabric. In the next 5 minutes, we will show you how to apply iron on patches step by step. We will also cover the best fabrics, common mistakes, and simple care tips.
What Are Iron On Patches?
Iron on patches have a heat-activated adhesive on the back. When heat is applied, the adhesive softens and bonds with the fabric. These patches are popular for jackets, jeans, bags, shirts, uniforms, and other fabric items.
You can choose from different styles, such as embroidered, woven, printed, and custom patches. The right patch can add a logo, name, design, or personal message to your clothing or accessories.
Design Your Custom Patches Right Now!
What Do You Need?
You only need a few basic items to apply an iron-on patch. You will need your patch, the fabric item, an iron, and a flat, heat-safe surface. It is also useful to have a thin cotton cloth or tea towel.
This can be placed between the iron and patch to protect the design. Make sure your fabric is clean and dry before you begin. Dirt and moisture can affect the adhesive.
Step 01: Choose the Right Position
First, decide where you want your patch. Place the patch on the fabric without heating it. Check the position from different angles to make sure it is straight. For a jacket or shirt, lay the item flat before positioning the patch.
This makes it easier to see how it will look. Take your time with this step. Once the adhesive is heated, moving the patch can be difficult. If you want fine details and a smooth finish, consider custom woven patches.
Step 02: Prepare the Fabric
Make sure the fabric is clean, dry, and free from dust. If the item needs washing, wash and dry it before applying the patch.
Place the item on a hard, flat surface. An ironing board is a good choice. Avoid soft surfaces such as beds or sofas. They can make it difficult to apply even pressure.
Step 03: Heat the Iron
Set your iron to a heat level that is suitable for the fabric. Cotton and denim can usually handle more heat than delicate materials. If you want a raised and eye-catching design, consider custom 3D embroidered patches.
Always check the garment care label before using your iron. Turn off the steam setting unless the patch instructions say otherwise. Allow the iron to heat fully before you start.
Step 04: Position the Patch
Place the patch with the adhesive side facing down. The design should face upwards. Check that any text or logo is facing the correct direction.
Look carefully at the edges and corners. Make sure the patch is exactly where you want it. Once you are happy with the position, avoid moving it.
Step 05: Cover the Patch
Place a thin cotton cloth over the patch. This layer helps protect the patch from direct heat. It can also reduce the risk of marks on the fabric.
Avoid using a thick towel because it may prevent enough heat from reaching the adhesive. A clean, thin cotton cloth is usually enough.
Step 06: Press the Iron
Place the hot iron over the cloth and patch. Press down firmly for the time recommended by the patch supplier. Do not move the iron back and forth as you would when ironing clothes. Keep the iron still while applying pressure. Make sure the whole patch receives heat.
Pay close attention to the edges and corners because these areas can lift if they do not bond properly. For larger patches, work across each section until the full patch has been heated.
Step 07: Check the Patch
Remove the iron and let the patch cool for a short time. Then check the edges carefully. If a corner or edge is lifting, cover it again and apply heat and pressure according to the patch instructions.
Do not pull or move the patch while it is still warm. Let the adhesive settle first. A secure bond around the full edge will help your patch stay in place. If you want a casual and stylish look, consider custom denim patches.
Step 08: Let It Cool
Once the patch is firmly attached, allow it to cool completely. Do not wear, stretch, fold, or wash the item straight away.
The adhesive needs time to set properly. Giving the patch time to cool is a simple step, but it can help create a stronger and cleaner finish.
Which Fabrics Work With Iron-On Patches?
Iron-on patches are not suitable for every fabric. Cotton, denim, canvas, and some other sturdy fabrics are commonly used with iron-on patches.
Delicate or heat-sensitive materials may not be suitable. Nylon, waterproof fabrics, leather, and some synthetic materials can be damaged by high heat.
Always check the fabric care label before applying a patch. If you are unsure, test the iron on a hidden area of the fabric first.
How to Care for Iron-On Patches
Proper care can help your patch stay attached for longer. When washing the item, follow the care instructions for the fabric and patch. Turning the garment inside out before washing can reduce rubbing against the patch.
Avoid very high washing temperatures unless the patch and fabric can handle them. You should also follow the correct drying instructions. Too much heat may affect the adhesive over time. If an edge starts to lift, deal with it early. Reapplying heat and pressure may help secure the patch again.
Conclusion
Applying an iron-on patch is simple when you follow the correct steps. Start with clean, dry fabric and choose a suitable position. Use the correct heat and firm pressure, then allow the patch to cool before using or washing the item. The quality of the patch also makes a difference.
A reliable supplier can help you get a clean design and a better finished result. If you need custom iron-on patches in the UK, The Patches Club is ready to help. Contact us today for quality patches, fast turnaround, and a free quote.

FAQs
Frequently Asked Questions
Follow the instructions supplied with your patch. Apply firm heat and pressure for the recommended time.
No. Some fabrics cannot handle high heat. Always check the garment care label first.
Yes. Denim is commonly used for iron on patches, but always check the patch instructions before applying heat.
They can stay secure when applied correctly. Follow the recommended washing instructions to protect the adhesive.
A thin cotton cloth can help protect the patch and fabric from direct heat.
It may not have received enough heat or pressure. Reapply heat carefully while following the supplier's instructions.
Some patches can be removed with heat, but adhesive residue may remain on the fabric.
Yes. You can order custom patches using your logo, artwork, text, or personal design.
Yes. Jackets made from suitable fabrics, such as denim or cotton, can work well with iron-on patches.
You can contact The Patches Club for quality custom patches, fast turnaround, and a free quote.
How to Remove Iron-On Patches: A Comprehensive Guide
Iron-on patches are a simple way to customise jackets, shirts, bags, uniforms, and other items. But what happens when you…
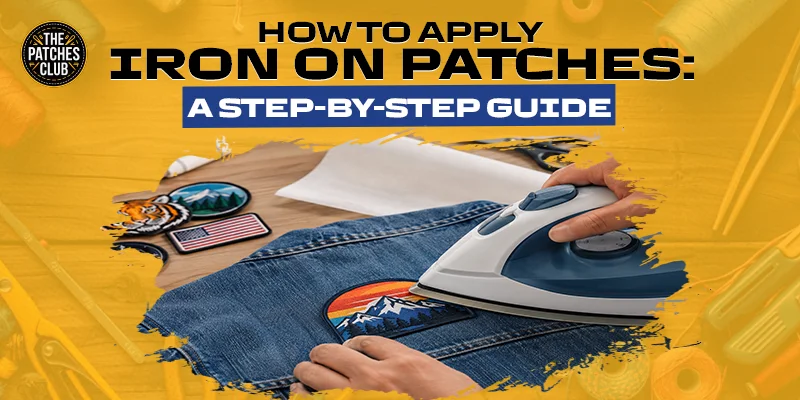
How to Apply Iron On Patches: A Step-by-Step Guide
Want to give an old jacket, bag, or pair of jeans a fresh look? Iron on patches are one of…

10 Best Custom Patch Companies in the UK 2026
Need custom patches in the UK but unsure which company to choose? The right patch maker can turn your logo,…